The build continued on with the shrimp cooker, since it only got a little bit done to it in the last log. I tried to find some information on it, but was unsuccessful. I guess "my little touches" will have to do. I began by doing some painting on it. the handle for the lid was a quick idea that I came up with. my wife has one of those mini staplers in her drawer. the staples are so small, they would do quite nicely for the handle for the lid, as well as the handles for the trays in the rack. I also created a support bracket for the smoke stack.


I had also put a couple coats of lacquer on the faces of the companionway and the locker. the platform is stained the same color as the pilot house. once the platform is in place and I get a good idea where the cooker is to be located, I will drill a hole for the exhaust funnel. the next thing to do was lacquer the deck, which got three coats. I chose a semi-gloss, since I did not want to give it that much of a shine. the lacquer idea was my wife's idea.......yea, startled the heck out of me too. we talked about the different finishes, varnish, lacquer and poly urethane. I have used lacquer before and like it for it durability. I didn't have any urethane handy....just in the "rattle cans". rather than "decant" them, I was going to go to the hardware store to get a pint........but my wife remembered that the hobby store carried clear lacquer and asked about using that instead. I wish I had thought of this sooner....doing a "before and after" picture, but I think you will see the difference.


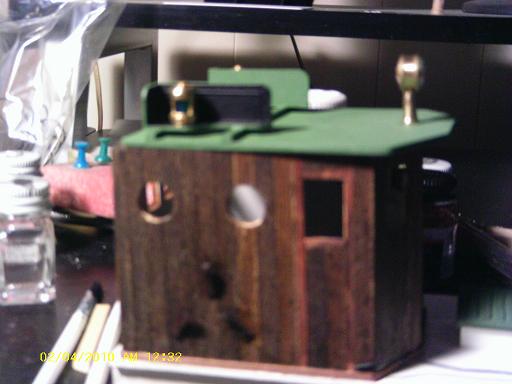
then, at this point, I couldn't wait to cement a couple of the "lower standing structures" in place!
I had also cemented in place the bow cleat and a few fittings at the stern. the next in line, was the life preservers and their holders. I feel it's time to put the finishing touches on the pilot house as well.
there is a complete "molding" framework that is still to go on the pilot house. it starts with the front window frames......the Cux will now get it's "face". first I did the back windows, and then the square side windows.....I have to figure out how to do the port holes. it is hard to show you the windows, but I tilted the house in a way that you may be able to catch a glimpse. when it was time to do the front windows, I created the face......this is how it looks


To install these windows, I used a cement put out by testor's that I swear by. it's the "clear parts cement and window maker" this stuff will not mar or cloud clear parts, can be wiped off {if you do it quick enough, and dries clear. if you have a small opening, it can also be used to create an actual "window", simply by filling the hole in with it......as I said, it dries clear. while this was going on, I installed the side lights on the pilot house roof. I liked the fact that the kit included a piece of red and green film to put inside for the lense.
The work on the pilot house progressed......
Here is the rudder and the bow cleat. the color of the rudder is the dark drab that will grace the ship below the waterline. I don't have the front glass in as of yet on the pilot house, but I love to look at the progress I make after every sitting. the only things that aren't here {I just realized}.....are the steps! .....and I was so proud of myself for coming up with them....too!
Well, that it for the moment......I already have my first picture for the next build log in the camera, so the work is still under full speed. until then........AHOY!